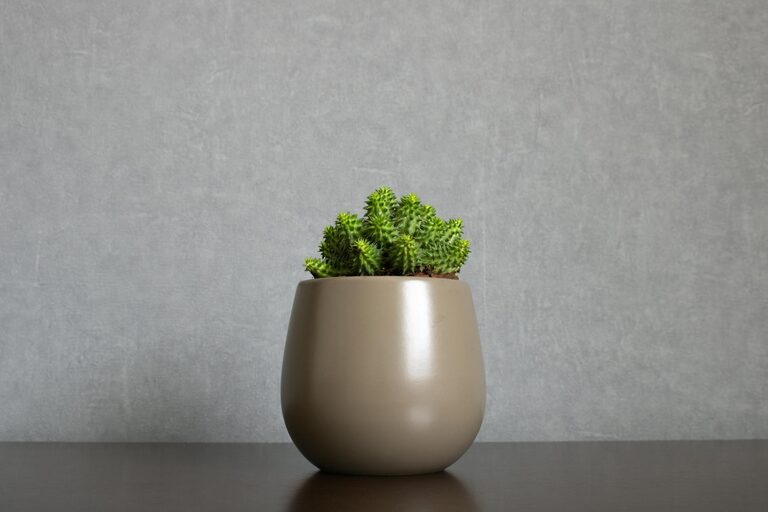
Growing your own herbs indoors is a rewarding and practical way to bring fresh flavors into your kitchen all year round. Whether you have a large home or just a small apartment, starting a small herb garden indoors is easier than you might think. This guide will walk you through everything you need to know to get started, from choosing the right herbs to caring for them daily.
Why Start an Indoor Herb Garden?
Indoor herb gardens offer several benefits:
– Fresh herbs at your fingertips for cooking and garnishing
– Improved air quality and a touch of greenery in your home
– A fun and educational hobby that requires minimal space
– Cost savings by growing rather than buying herbs frequently
Choosing the Right Herbs for Indoor Growing
Not all herbs thrive indoors equally, so picking varieties suited to indoor conditions is key. Some popular and easy-to-grow indoor herbs include:
– Basil: Needs plenty of light and warmth
– Mint: Hardy and tolerant of less light but can spread quickly
– Parsley: Slow to germinate but likes moderate light
– Chives: Compact and easy to maintain
– Thyme: Prefers well-drained soil and plenty of sun
– Cilantro: Likes cooler temperatures and moderate light
– Oregano: Needs good light and well-drained soil
Choose herbs you cook with frequently and that will adapt well to your indoor environment.
Getting Started: What You’ll Need
Before planting, gather your basic supplies:
– Containers: Pots with drainage holes are best to avoid waterlogging. Small to medium-sized containers work well.
– Potting Soil: Use a high-quality, well-draining potting mix designed for indoor plants or herbs.
– Seeds or Seedlings: Decide if you want to start from seeds or buy young plants.
– Light Source: Most herbs need 6-8 hours of light daily. A sunny windowsill or a grow light works great.
– Watering Can: For gentle watering without washing away soil.
– Labels: Optional, but helpful for identifying your herbs.
Step-by-Step Guide to Planting Your Indoor Herb Garden
1. Select Your Planting Containers
Choose pots that are just large enough for the herb’s root system—usually about 4 to 6 inches deep for most herbs. Make sure they have drainage holes to prevent root rot.
2. Fill Containers with Potting Soil
Fill each pot with fresh potting soil up to about one inch below the rim. Gently loosen the soil to aerate it.
3. Plant Seeds or Transplants
– Seeds: Follow the seed packet instructions—generally planting at a depth of about twice the seed size. Lightly water after planting.
– Seedlings: Dig a small hole in the soil, place the seedling’s root ball inside, and cover it with soil. Water gently.
4. Place Your Herb Garden in a Bright Spot
Position your pots near a sunny window where they can receive at least 6 hours of bright light each day. If natural light is limited, use grow lights on a timer to simulate sunlight.
5. Water Wisely
Herbs generally prefer soil that is moist but not soggy. Water when the top inch of soil feels dry to the touch. Avoid overwatering, which can lead to mold or root rot.
6. Maintain Your Herbs
– Fertilize: Use a diluted, balanced liquid fertilizer every 4-6 weeks during growing season.
– Prune: Regularly trim herbs to encourage bushier, healthier growth and prevent legginess.
– Rotate: Turn pots occasionally to ensure even light exposure.
Tips for Successful Indoor Herb Gardening
– Choose herbs matching your space: Some herbs like basil need warmer, brighter spots, while others like mint tolerate lower light.
– Use quality soil: Good drainage is critical indoors; avoid garden soil.
– Keep humidity moderate: Indoor air can be dry, especially in winter. Mist herbs occasionally or use a humidity tray.
– Watch for pests: Indoor plants can attract aphids or spider mites. Wipe leaves and use natural pest controls if needed.
– Harvest regularly: Snip herbs just above a leaf node to encourage new growth.
Troubleshooting Common Issues
– Leggy plants: This usually means the herb is not getting enough light. Move it to a sunnier location or supplement with a grow light.
– Yellow leaves: Overwatering or poor drainage can cause yellowing. Reduce watering and check pot drainage.
– Slow growth: Check the amount of light, and consider fertilizing if you haven’t already.
Harvesting and Using Your Herbs
Once your herbs have grown 4-6 inches tall, you can start harvesting. Use clean scissors or your fingers to pinch off the leaves you need for cooking. Fresh herbs are fantastic in salads, soups, sauces, and drinks.
You can also dry herbs by hanging small bundles upside down in a warm, dry space or freeze them for later use.
Conclusion
Starting a small indoor herb garden is a satisfying way to bring fresh, fragrant greens into your living space. With a little planning and care, even beginners can enjoy the benefits of homegrown herbs year-round. Give it a try—you might be surprised how much pleasure you get from your own mini garden right on the windowsill.
Happy gardening!


